Teach It Tuesday.
June 4, 2013
Teach it Tuesday.
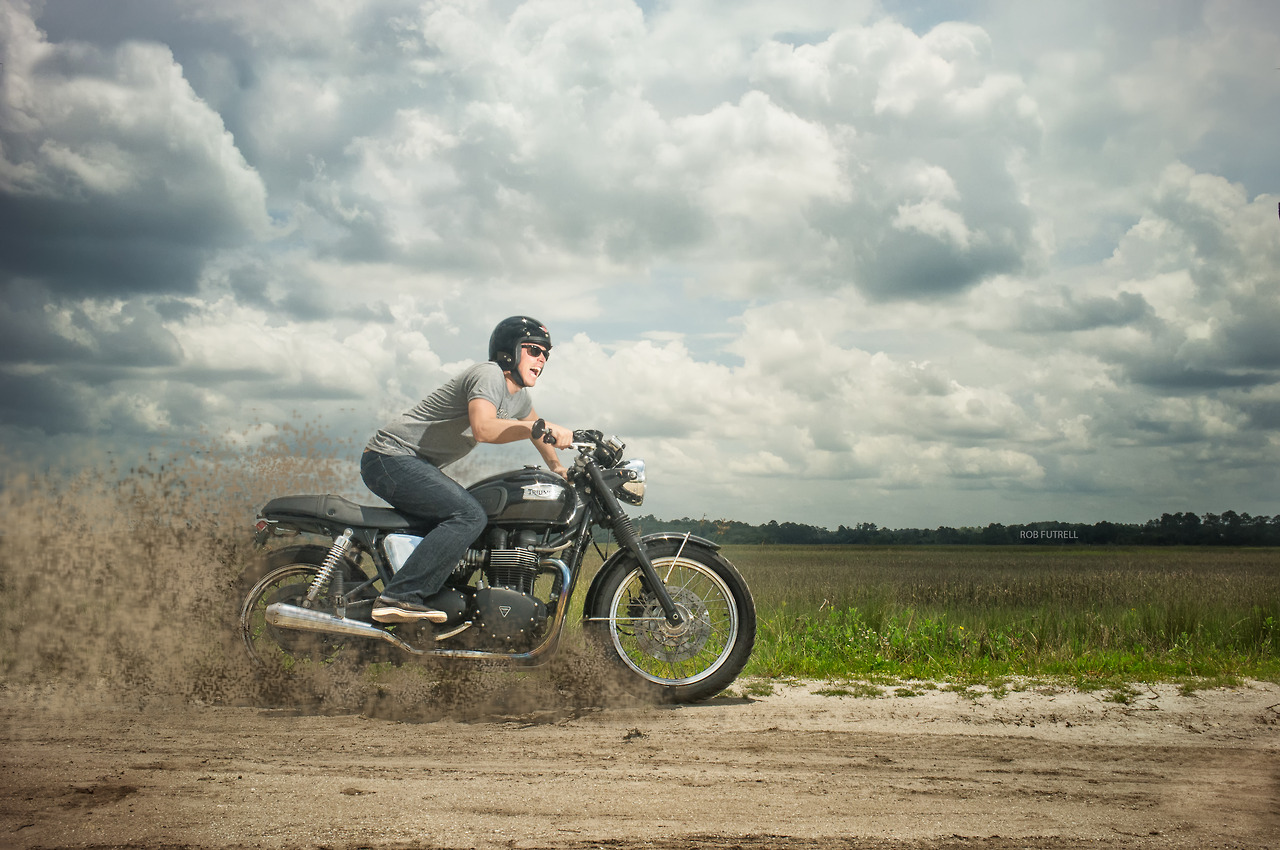
I often get asked how I shot or processed certain shots today I am going to explain how I put this shot together. Last year I shot similar photo to this. The previosu photograph was taken in the early evening when lighting conditions are more favorable. This time around I wanted to challenge myself with a noon day sun.
The camera was placed on a tripod and I used a 10 second self timer to take the actual photo.
Take a look at the animated GIF below. In the first frame of the GIF, my face is completely in shadow. I can increase my exposure, so that my face is shown, but this will blow out the sky. I really want to keep the sky and these awesome clouds so I need more light on my face. I set up 2 strobes. One on the left at 1/8th power and one on the right at 1/2 power. The shot is quite simple.
In processing the shot, as you can see in the GIF, I started by removing the distracting elements like the light stand and the power lines. Then I started working on contrast, detail and color toning. Lastly, I hand painted in the dirt and dust cloud.
The key to this shot (for me) is adding light to the subject so that they stand out of the brightly lit background. I am using Photoshop to remove distractions and to add more detail and tone in the areas that need it.
The shoot itself took about 10 minutes and processing took about an hour and a half…
If you have questions, please send me a note and let me know!
Networks
Contact Us
Email:
rob@robfutrell.com
Photos by Rob & Jill Futrell
213 Redfish Creek
St Augustine, FL
32095
Phone:
(904) 294-6604
Our Contact Information
Our Contact Info
Navigation

