Throwback Thursday
This week we hop into the "WAY BACK" machine all the way back to 2008. This is a great look not just at the changes I have made to the bike over the years but also the changes in my photography.
Here is a photo that I took in the same spot of the same bike just last year:
2008 Triumph Bonneville.
When people ask me "how can I take better photos" I tell them the only way to get better it practice. Practice, practice, practice. I am really excited to see what my photos will look like in another 5 years.
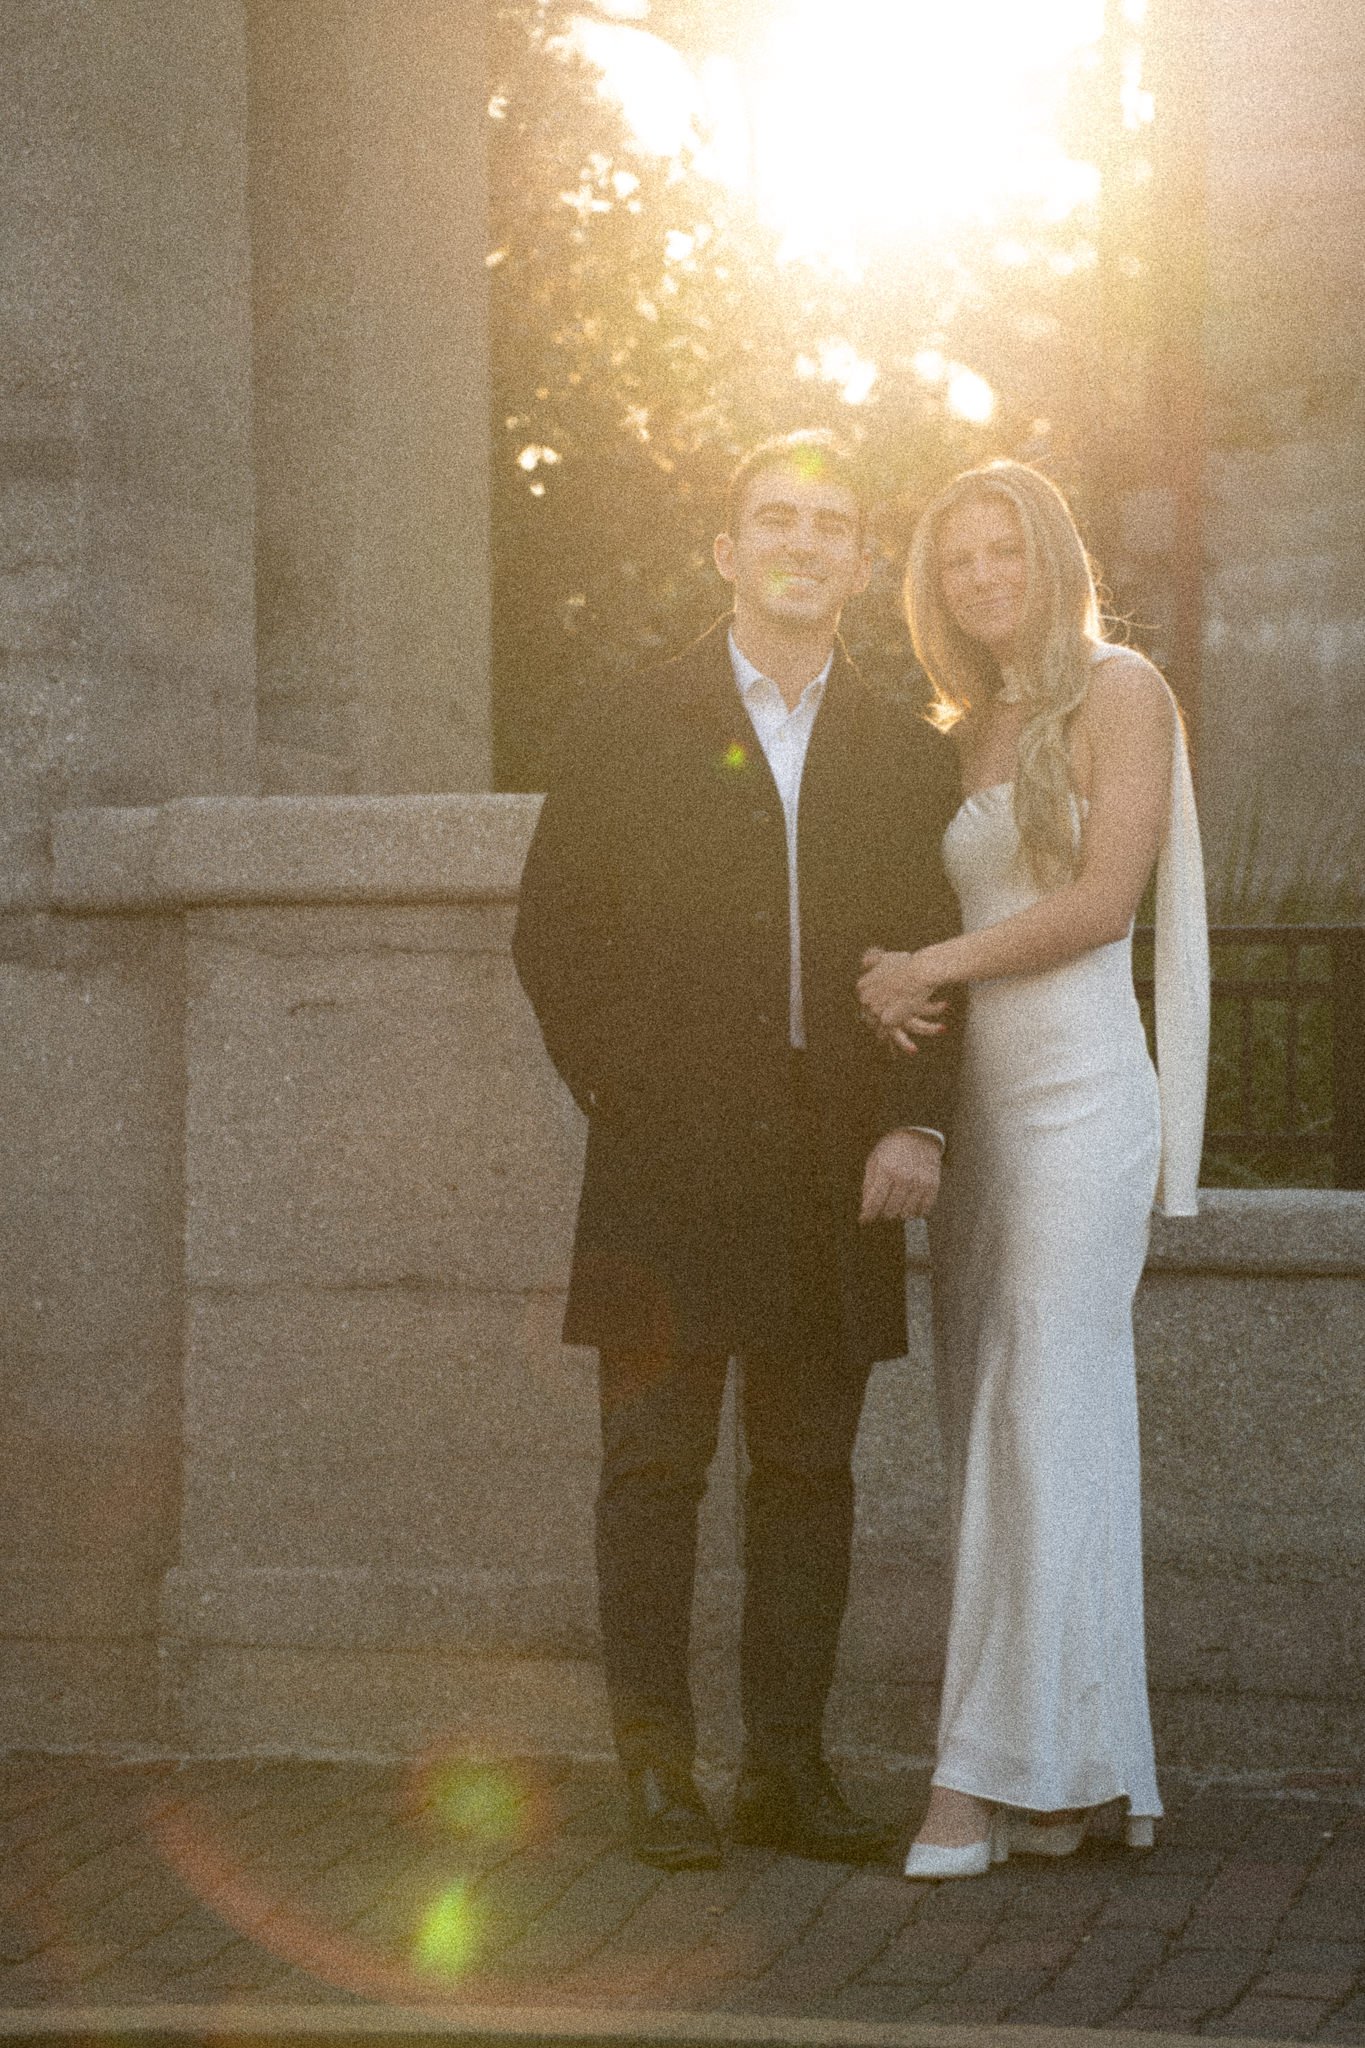
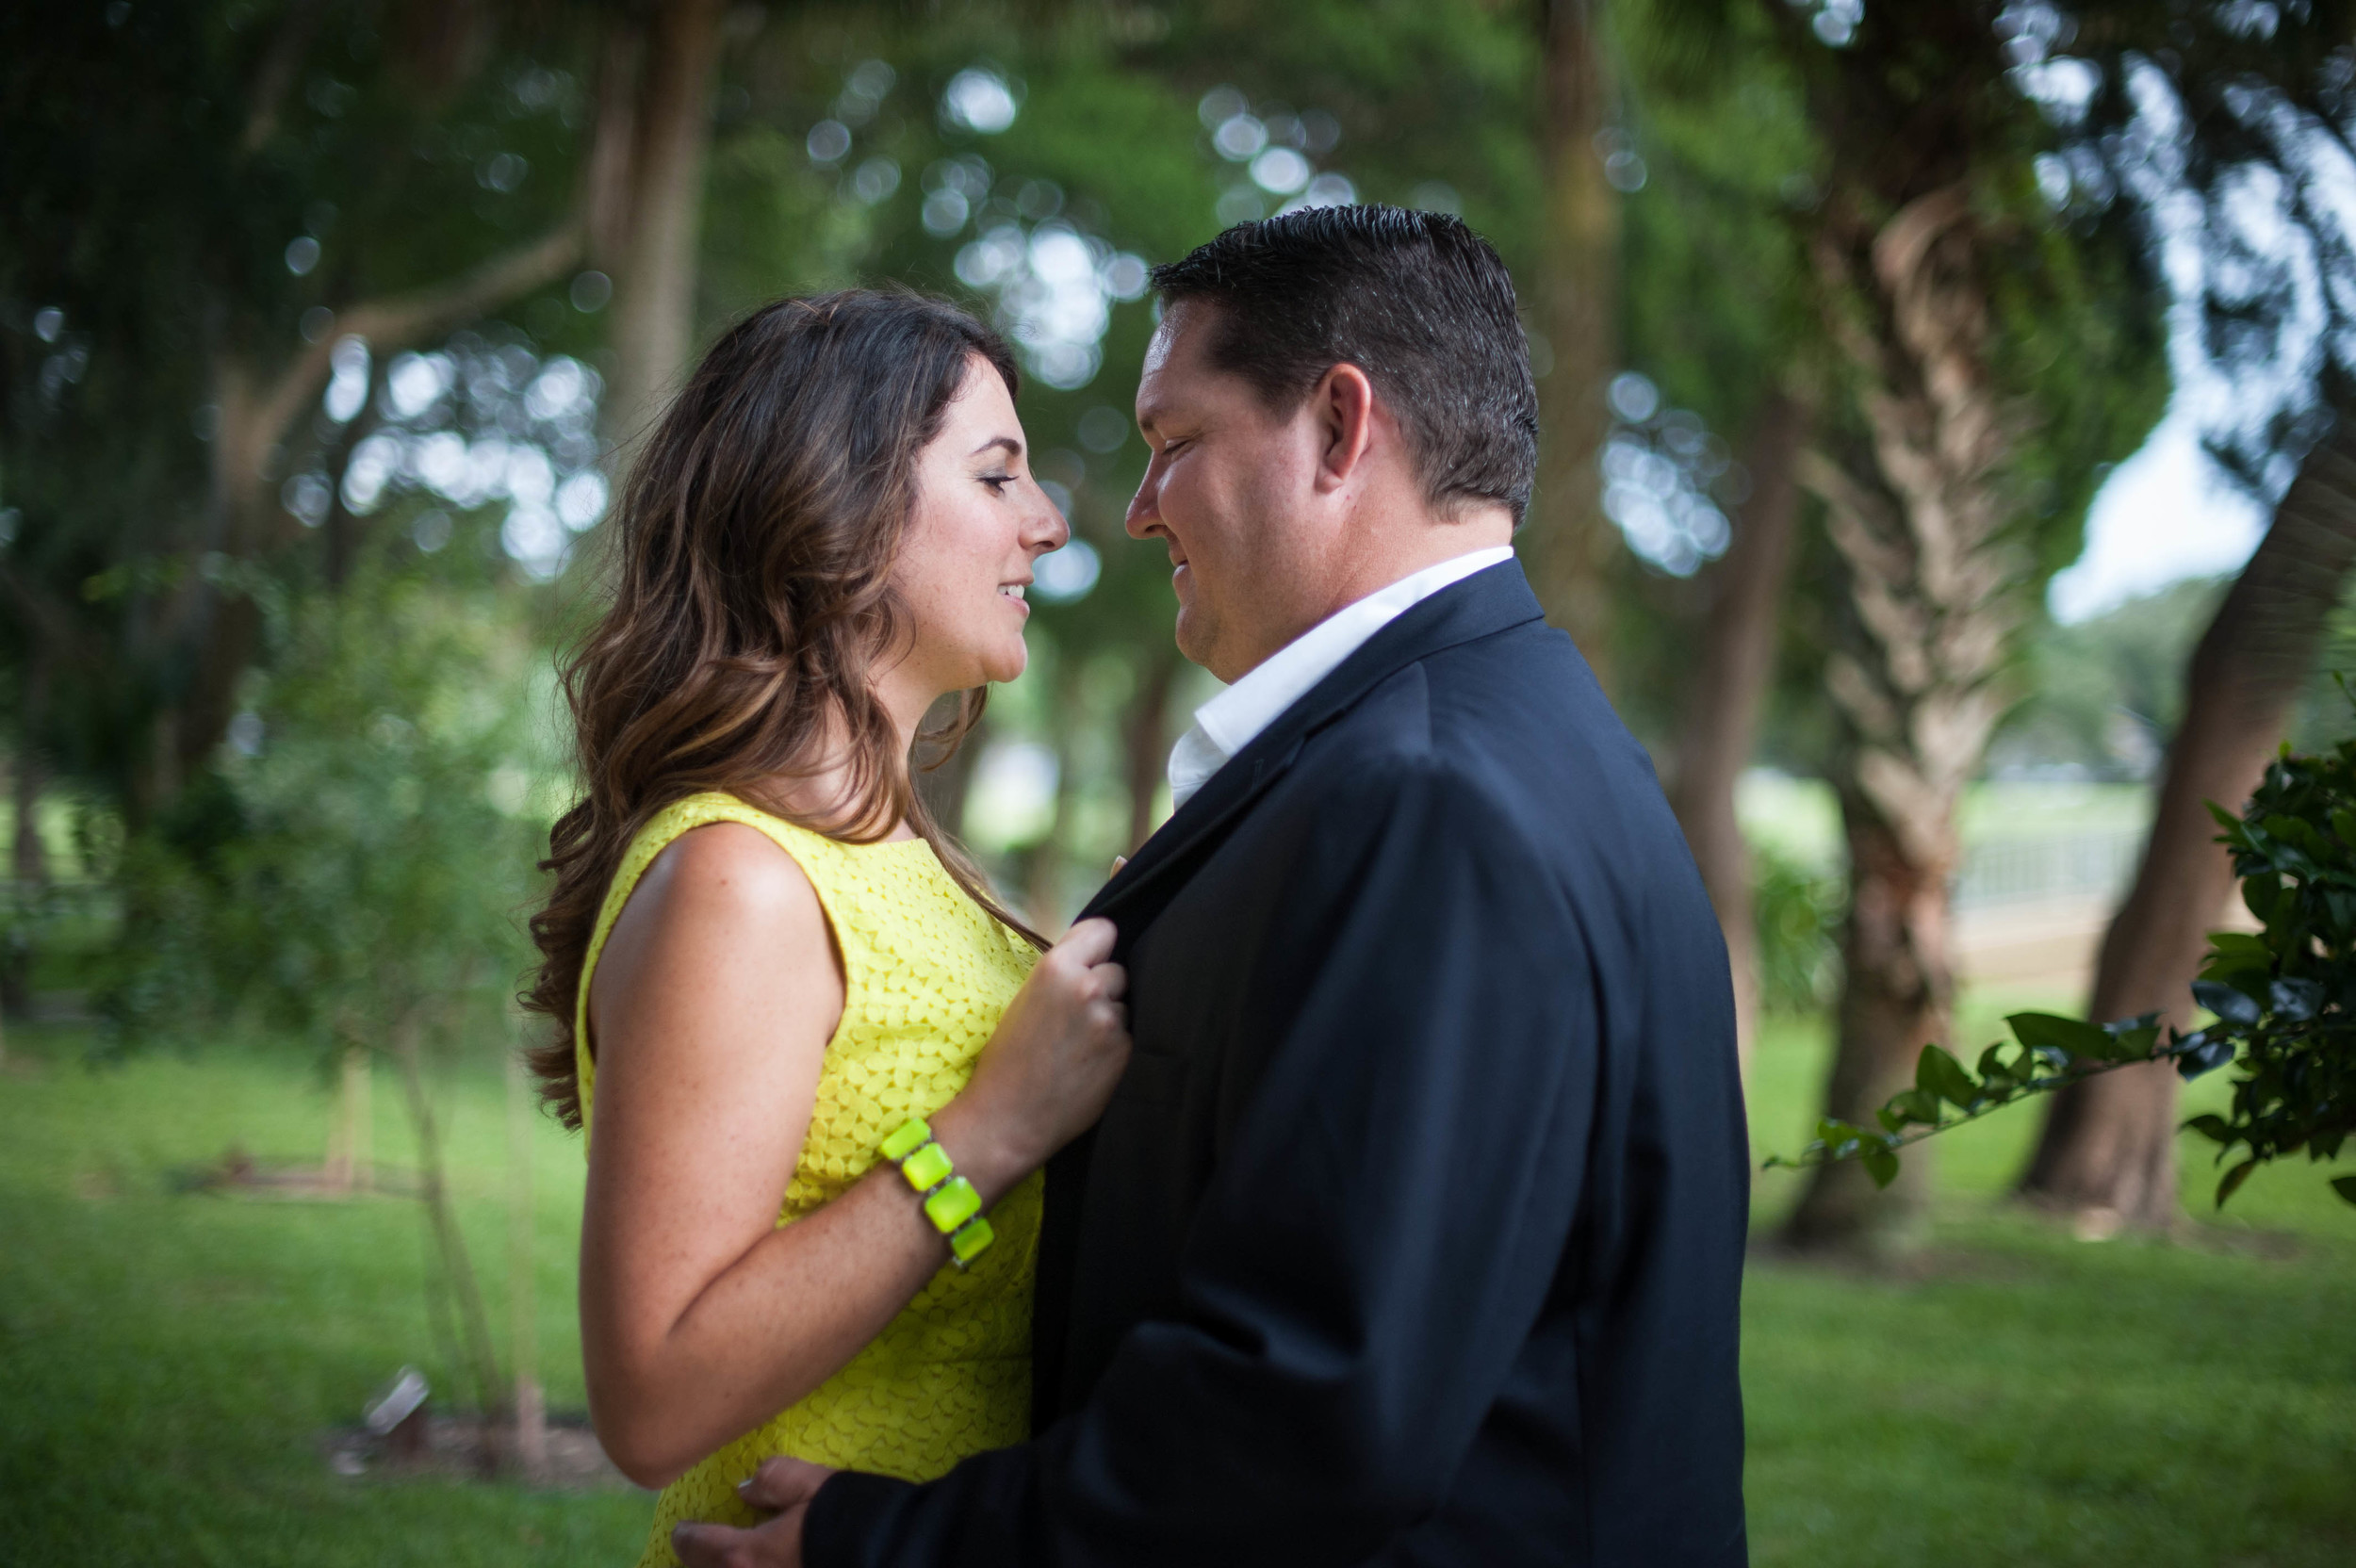
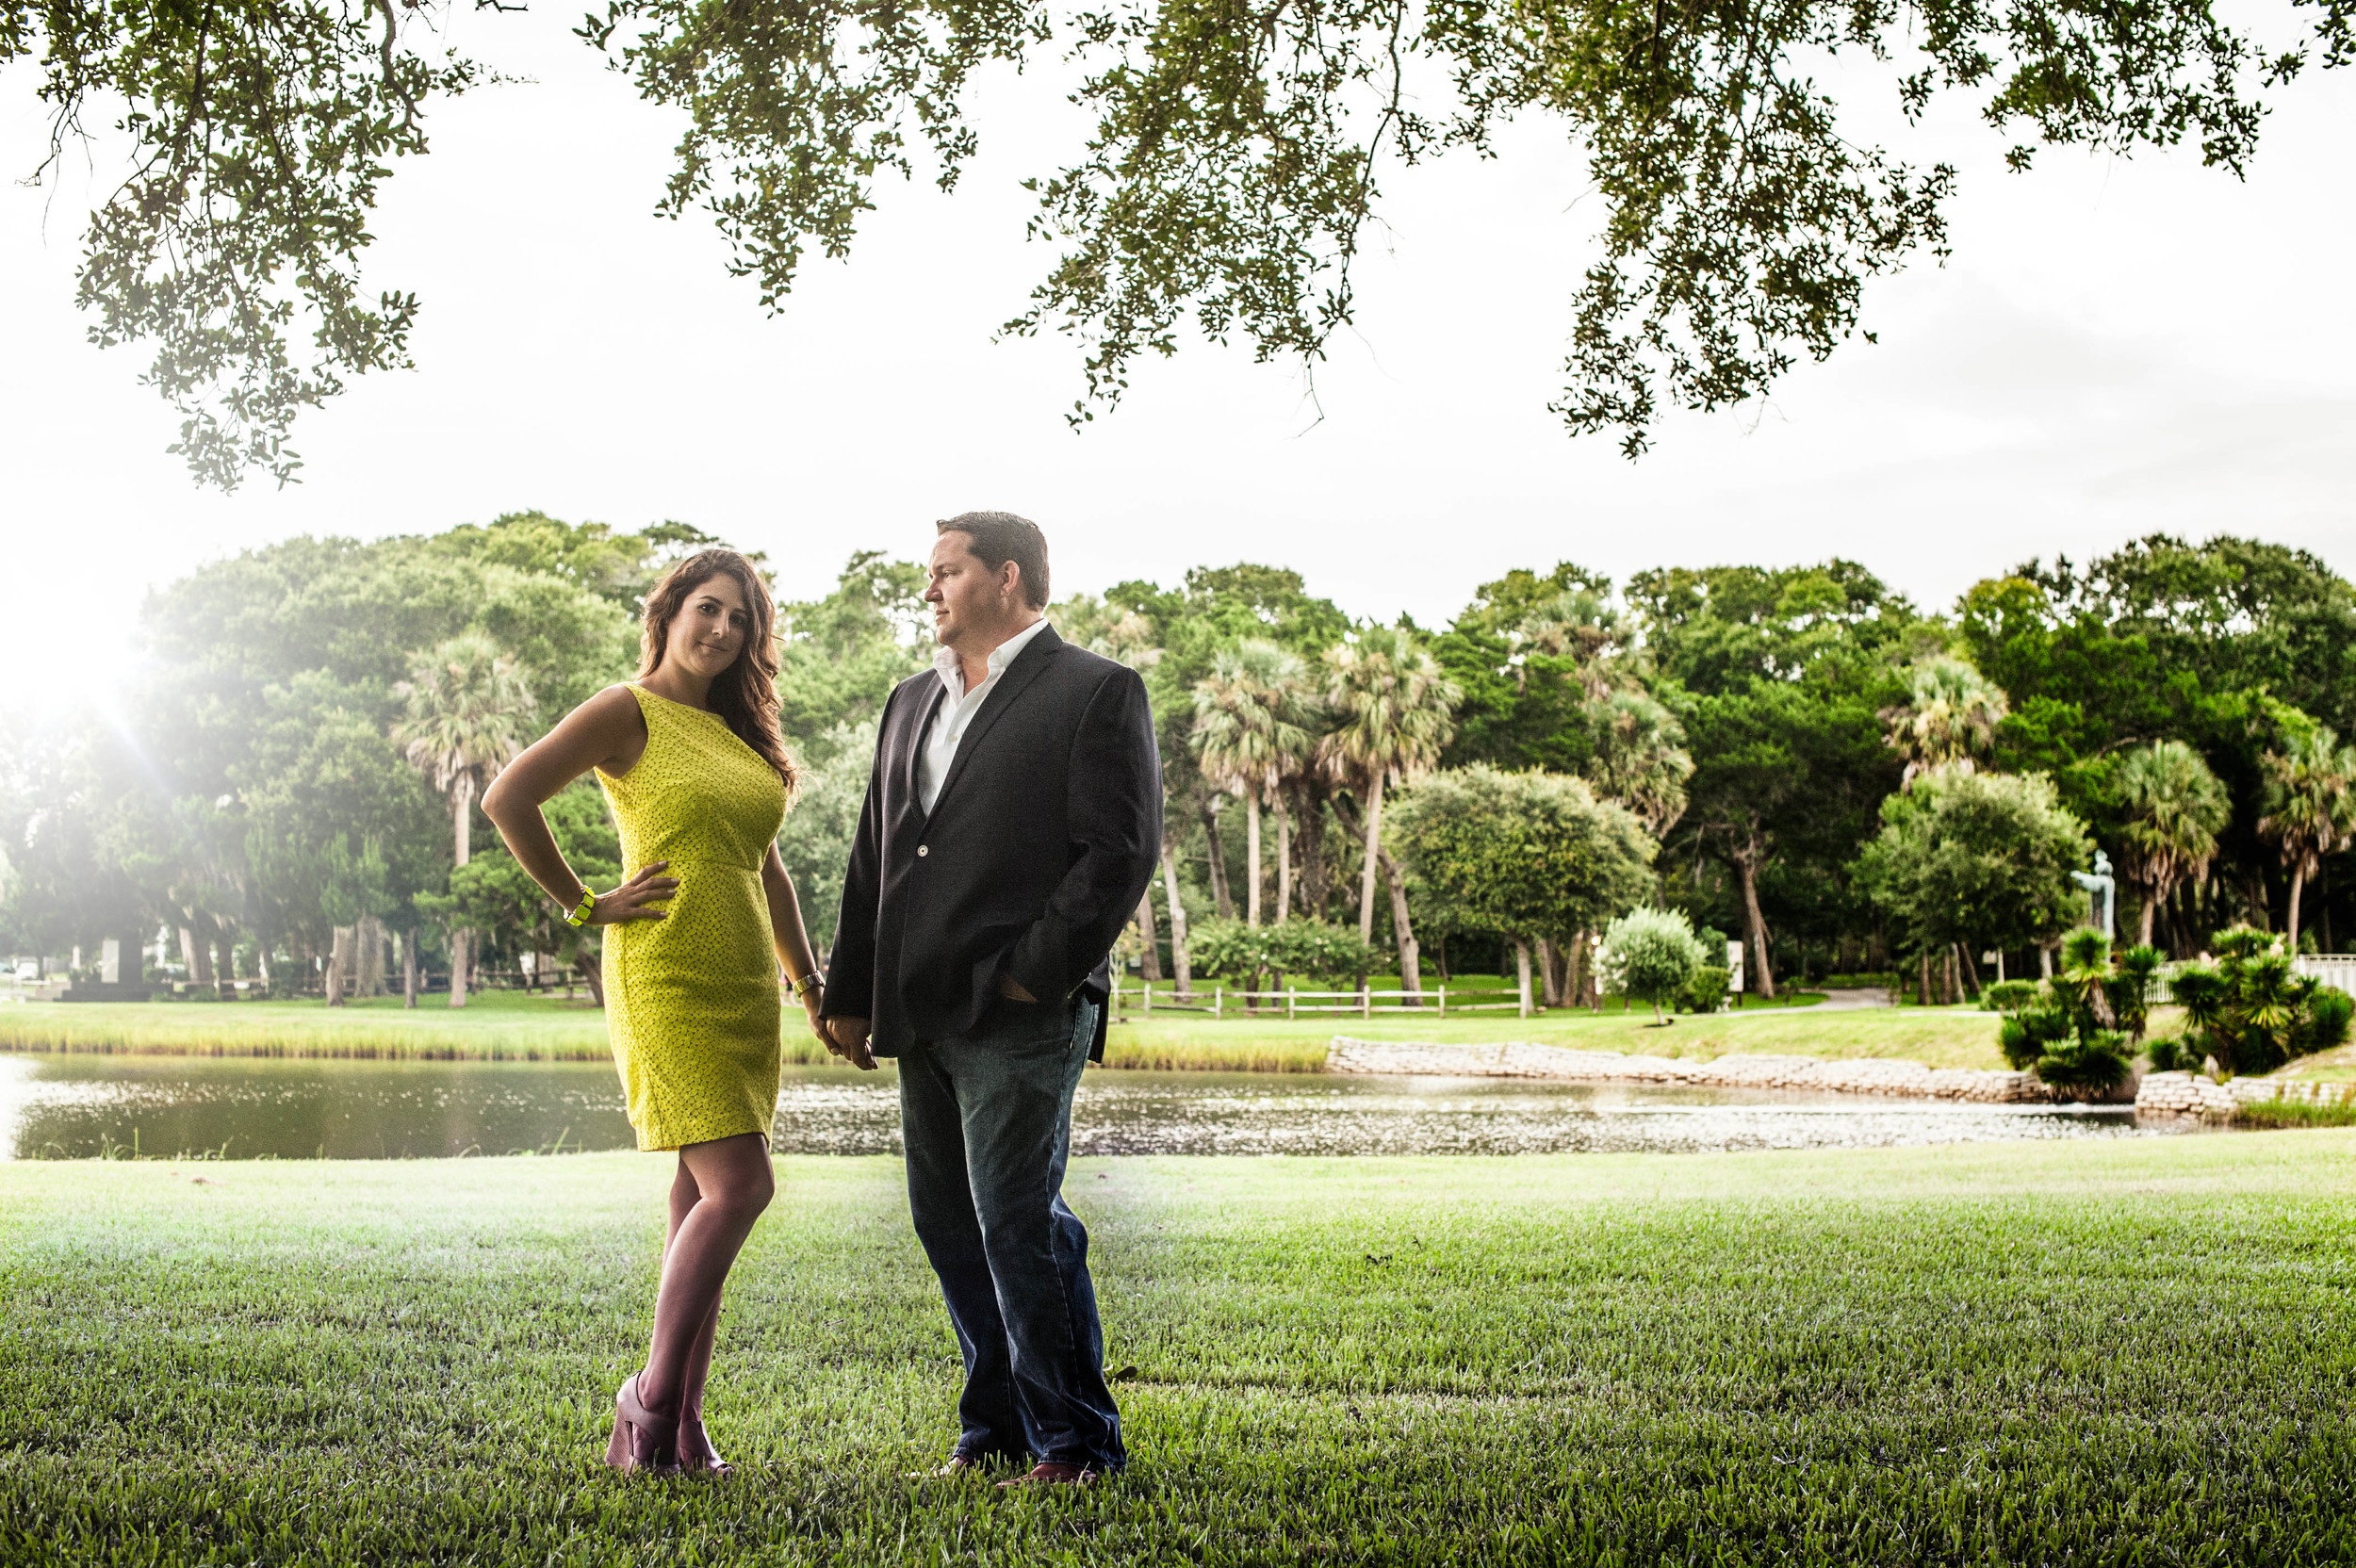
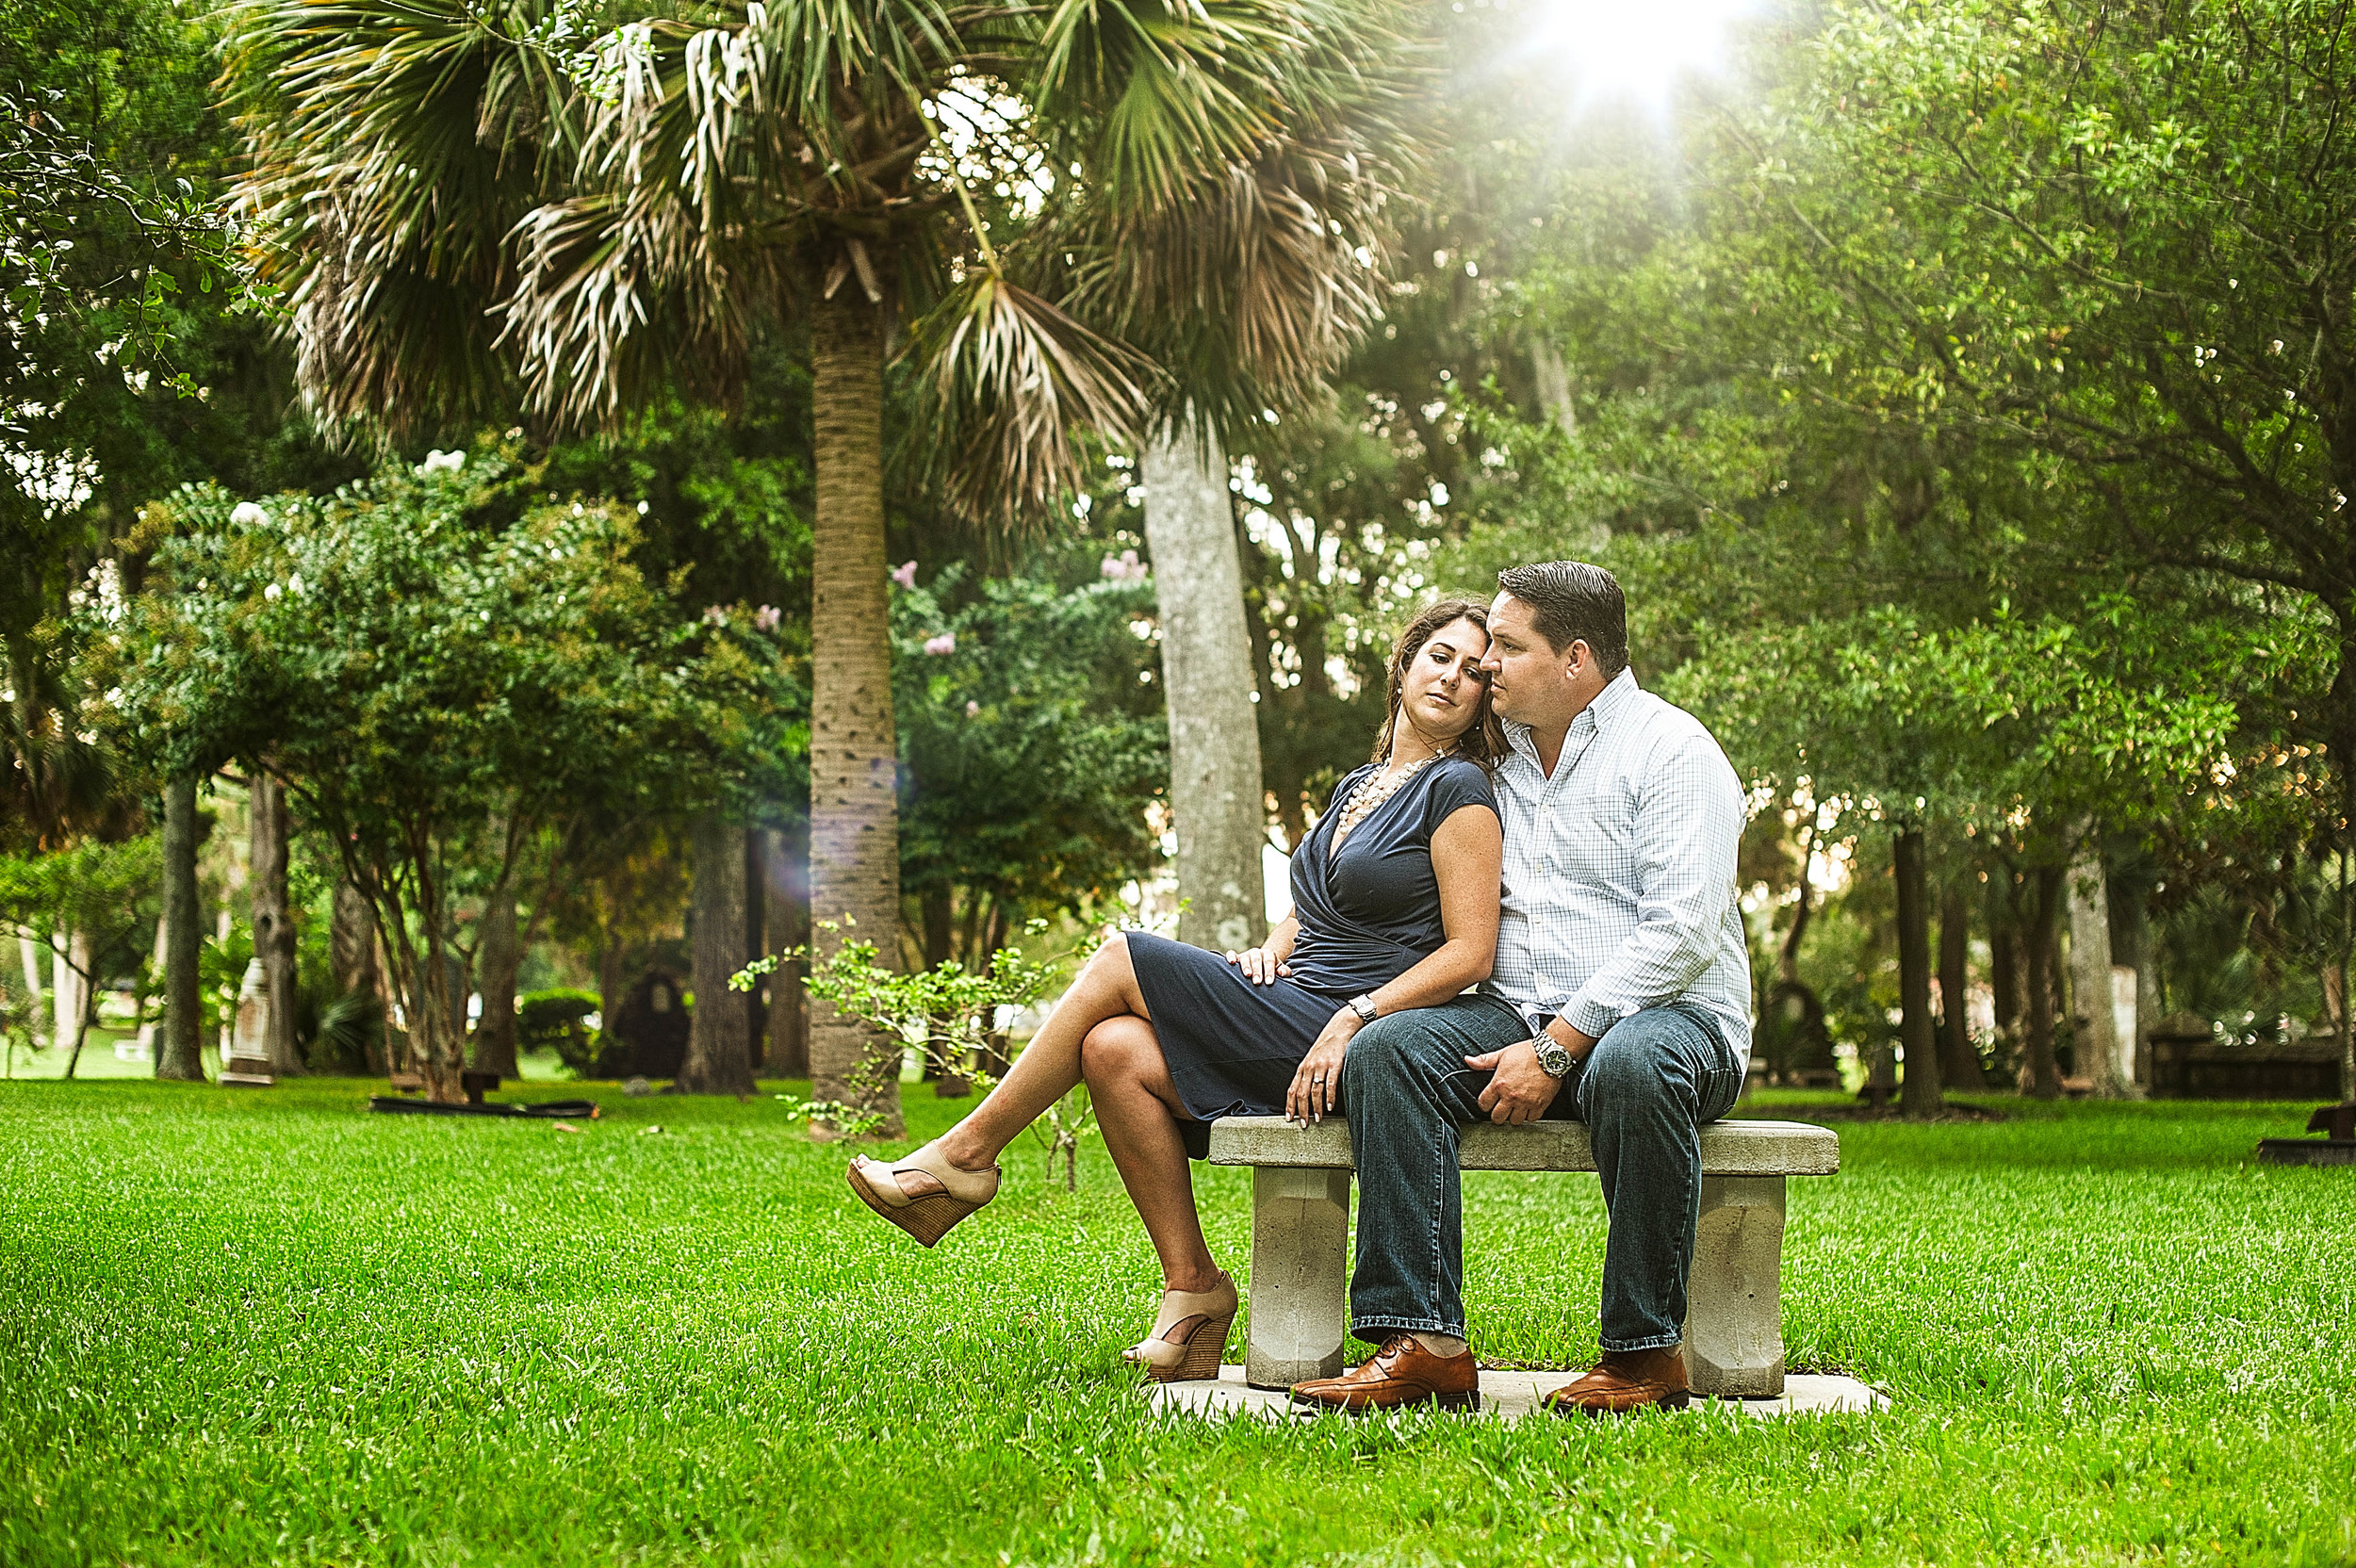
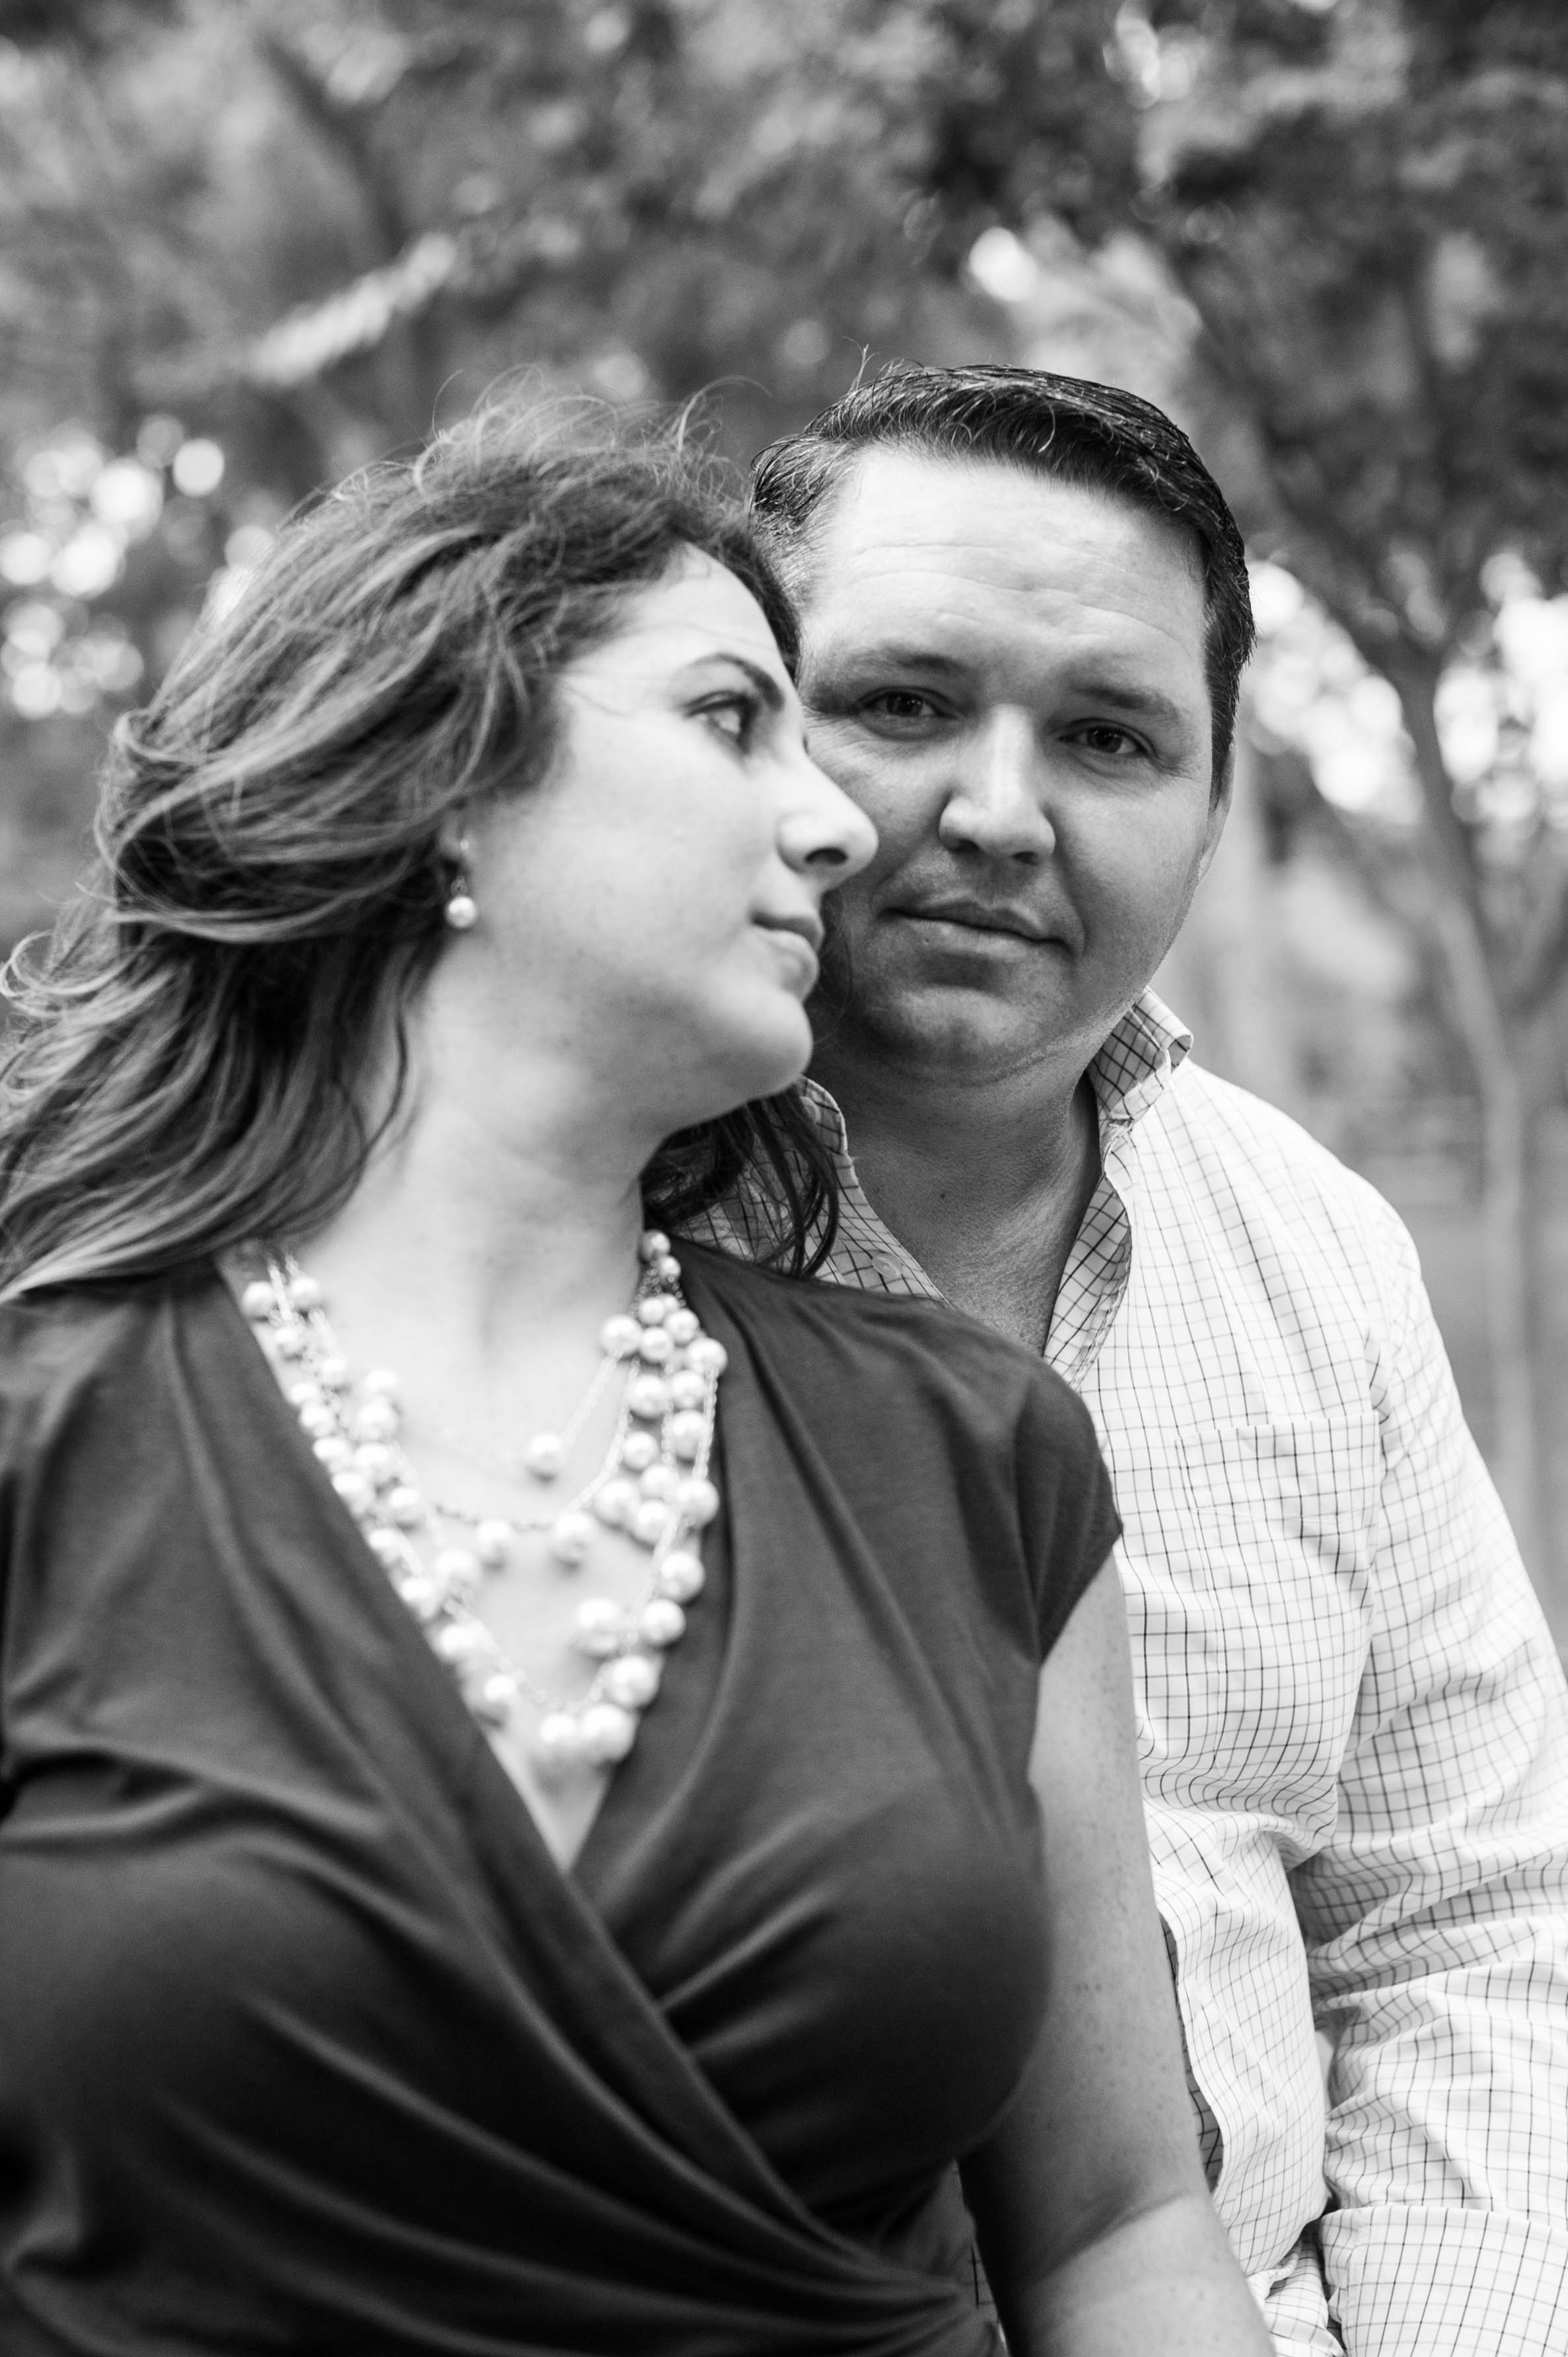
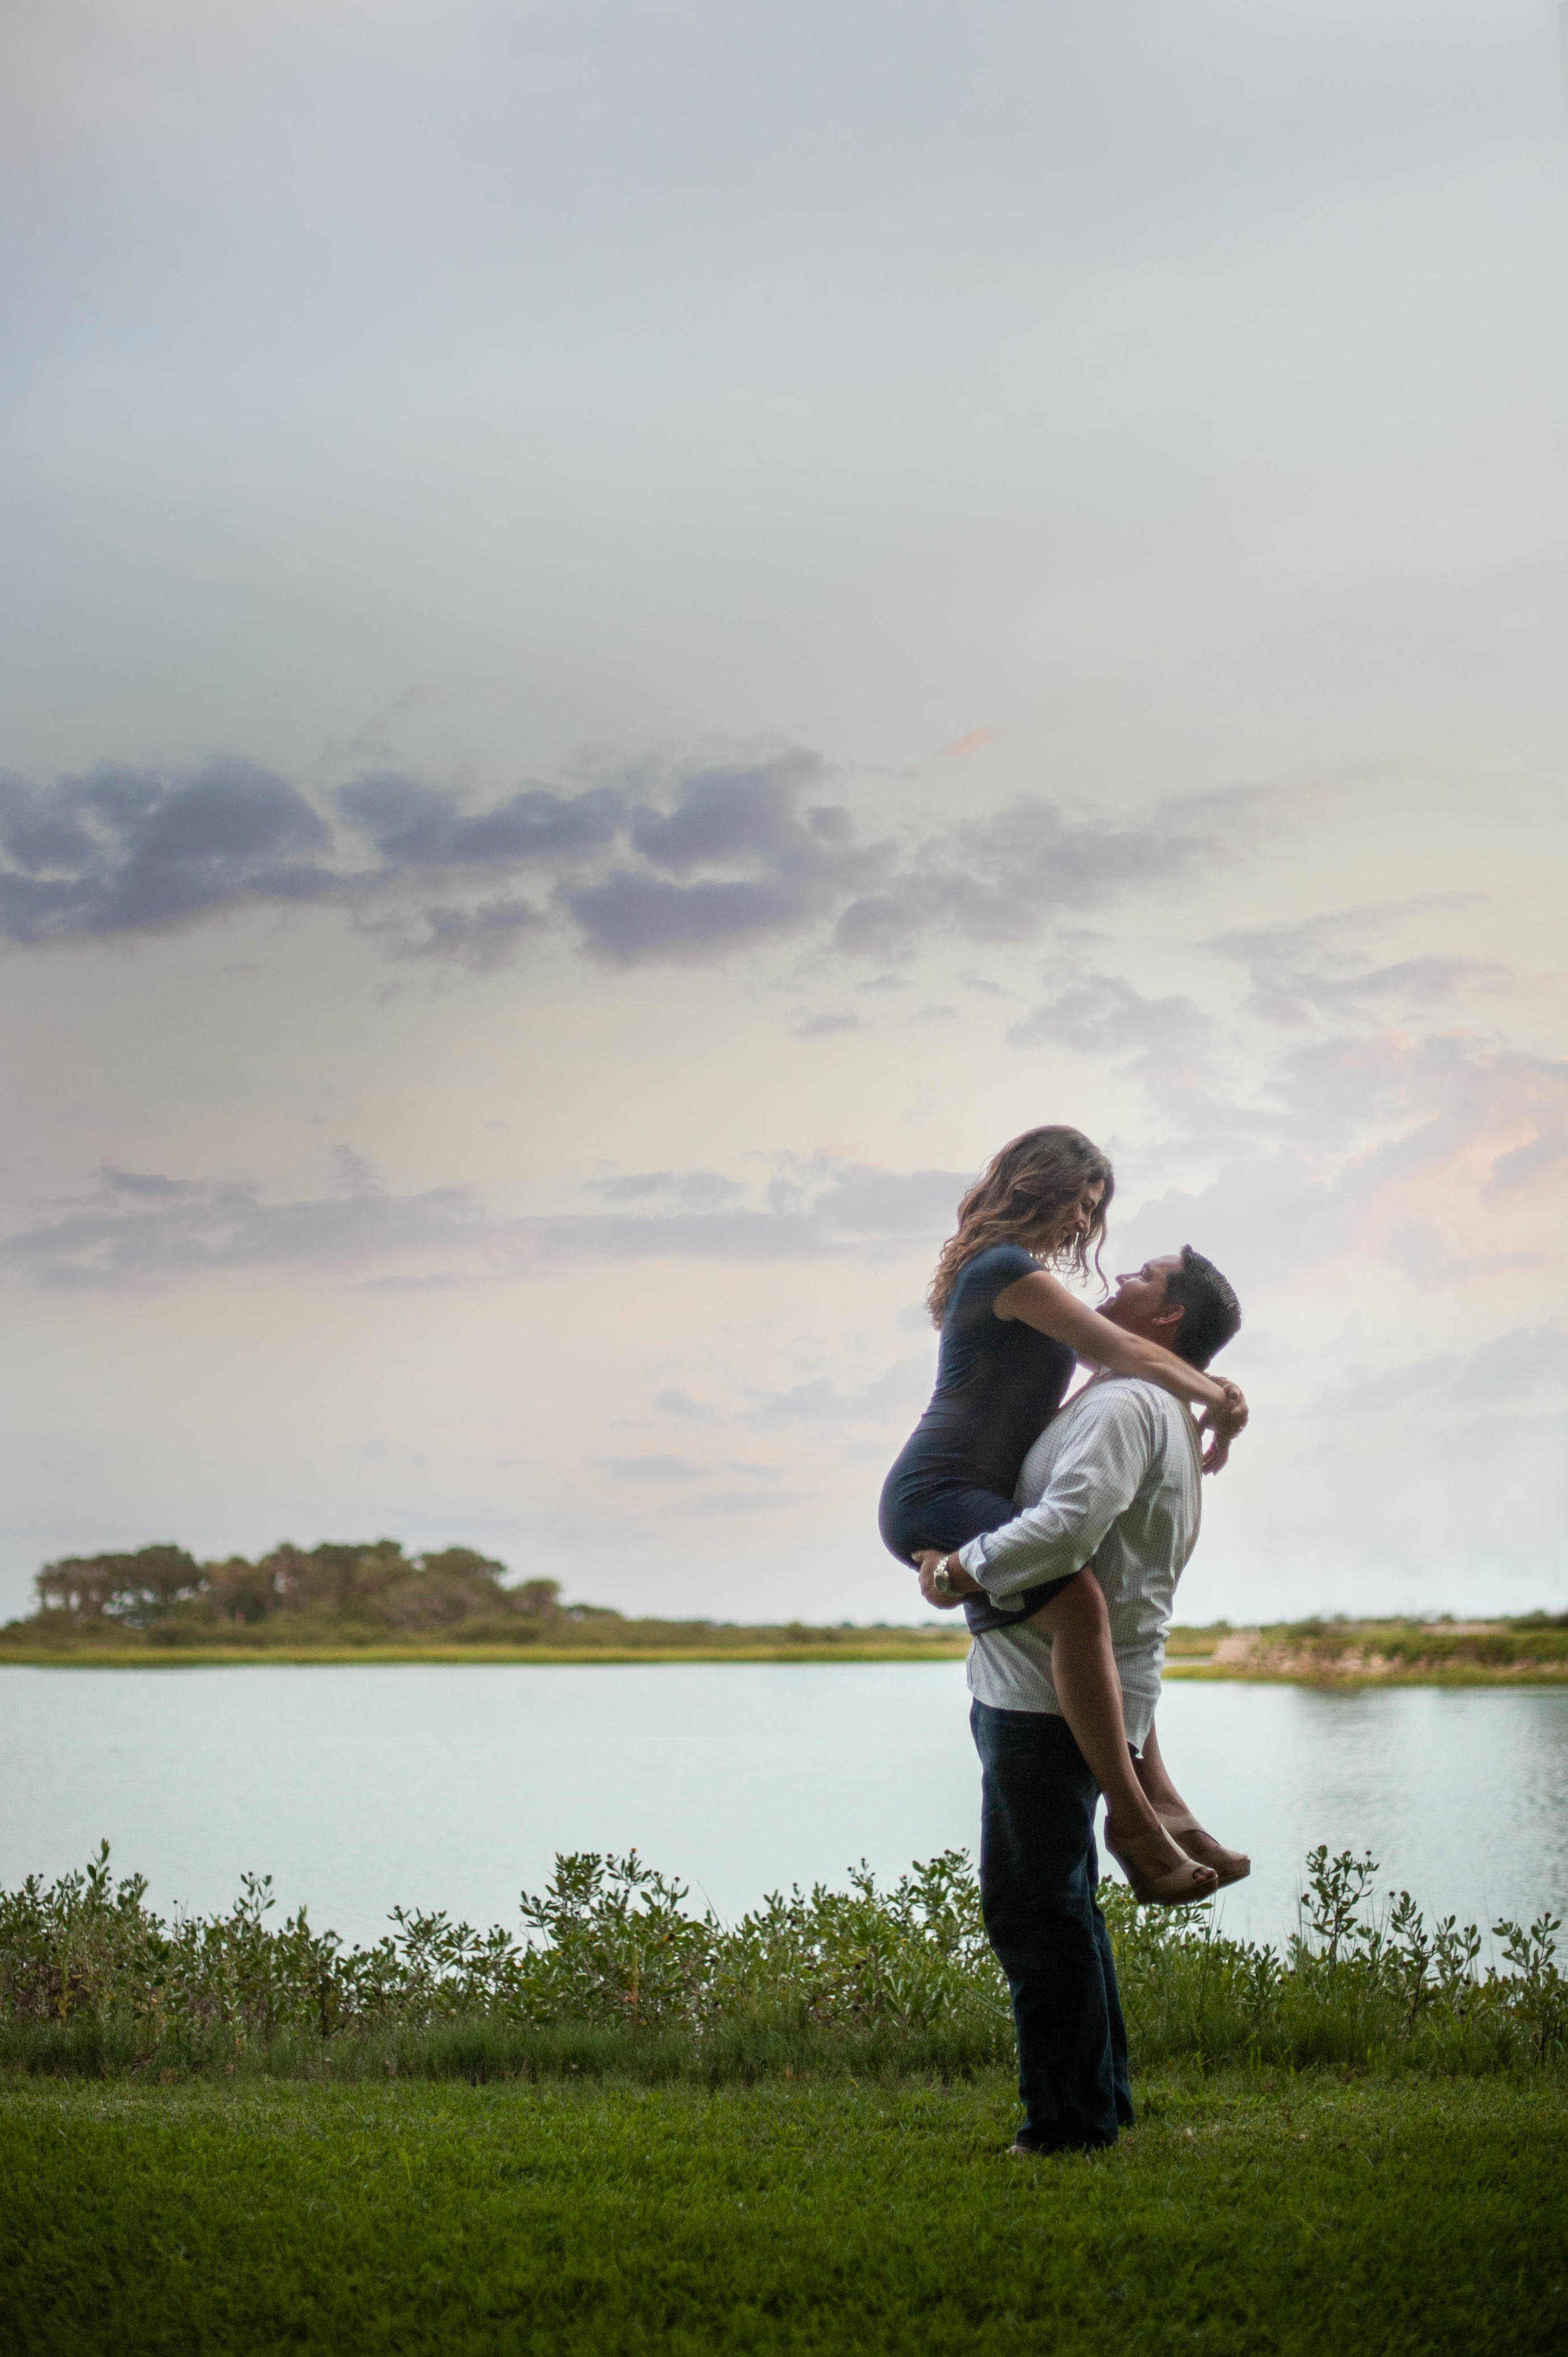
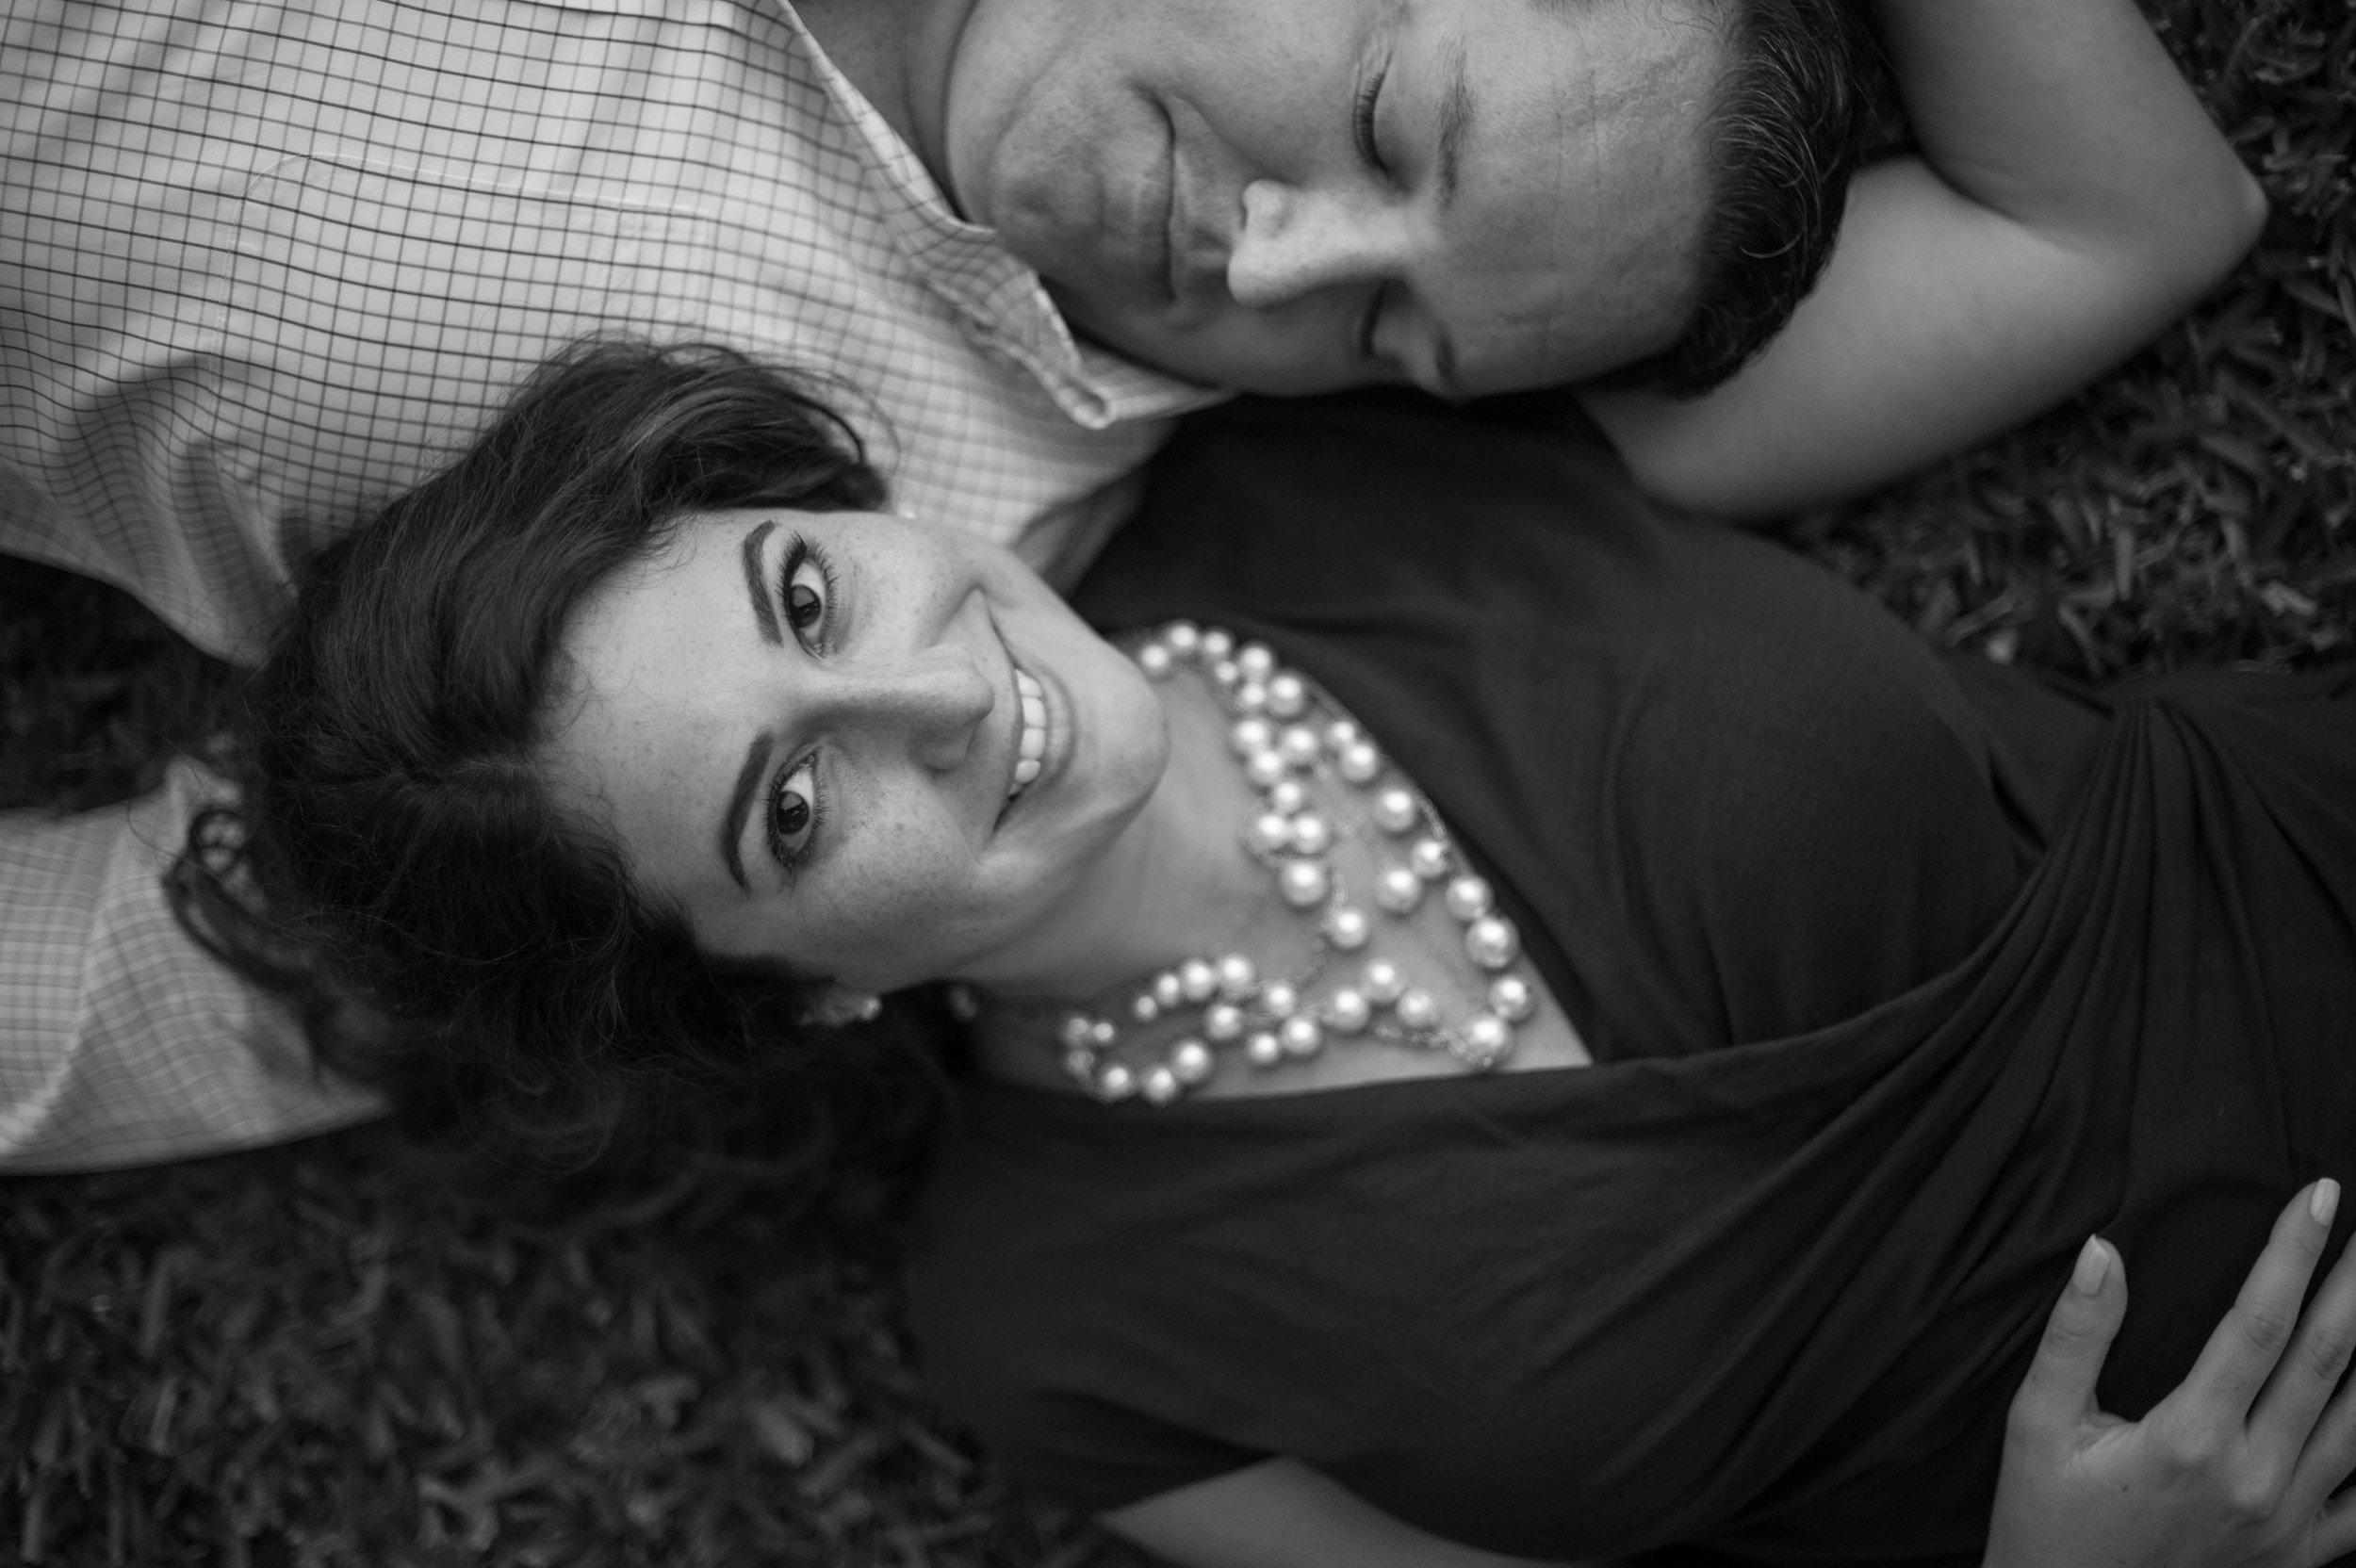
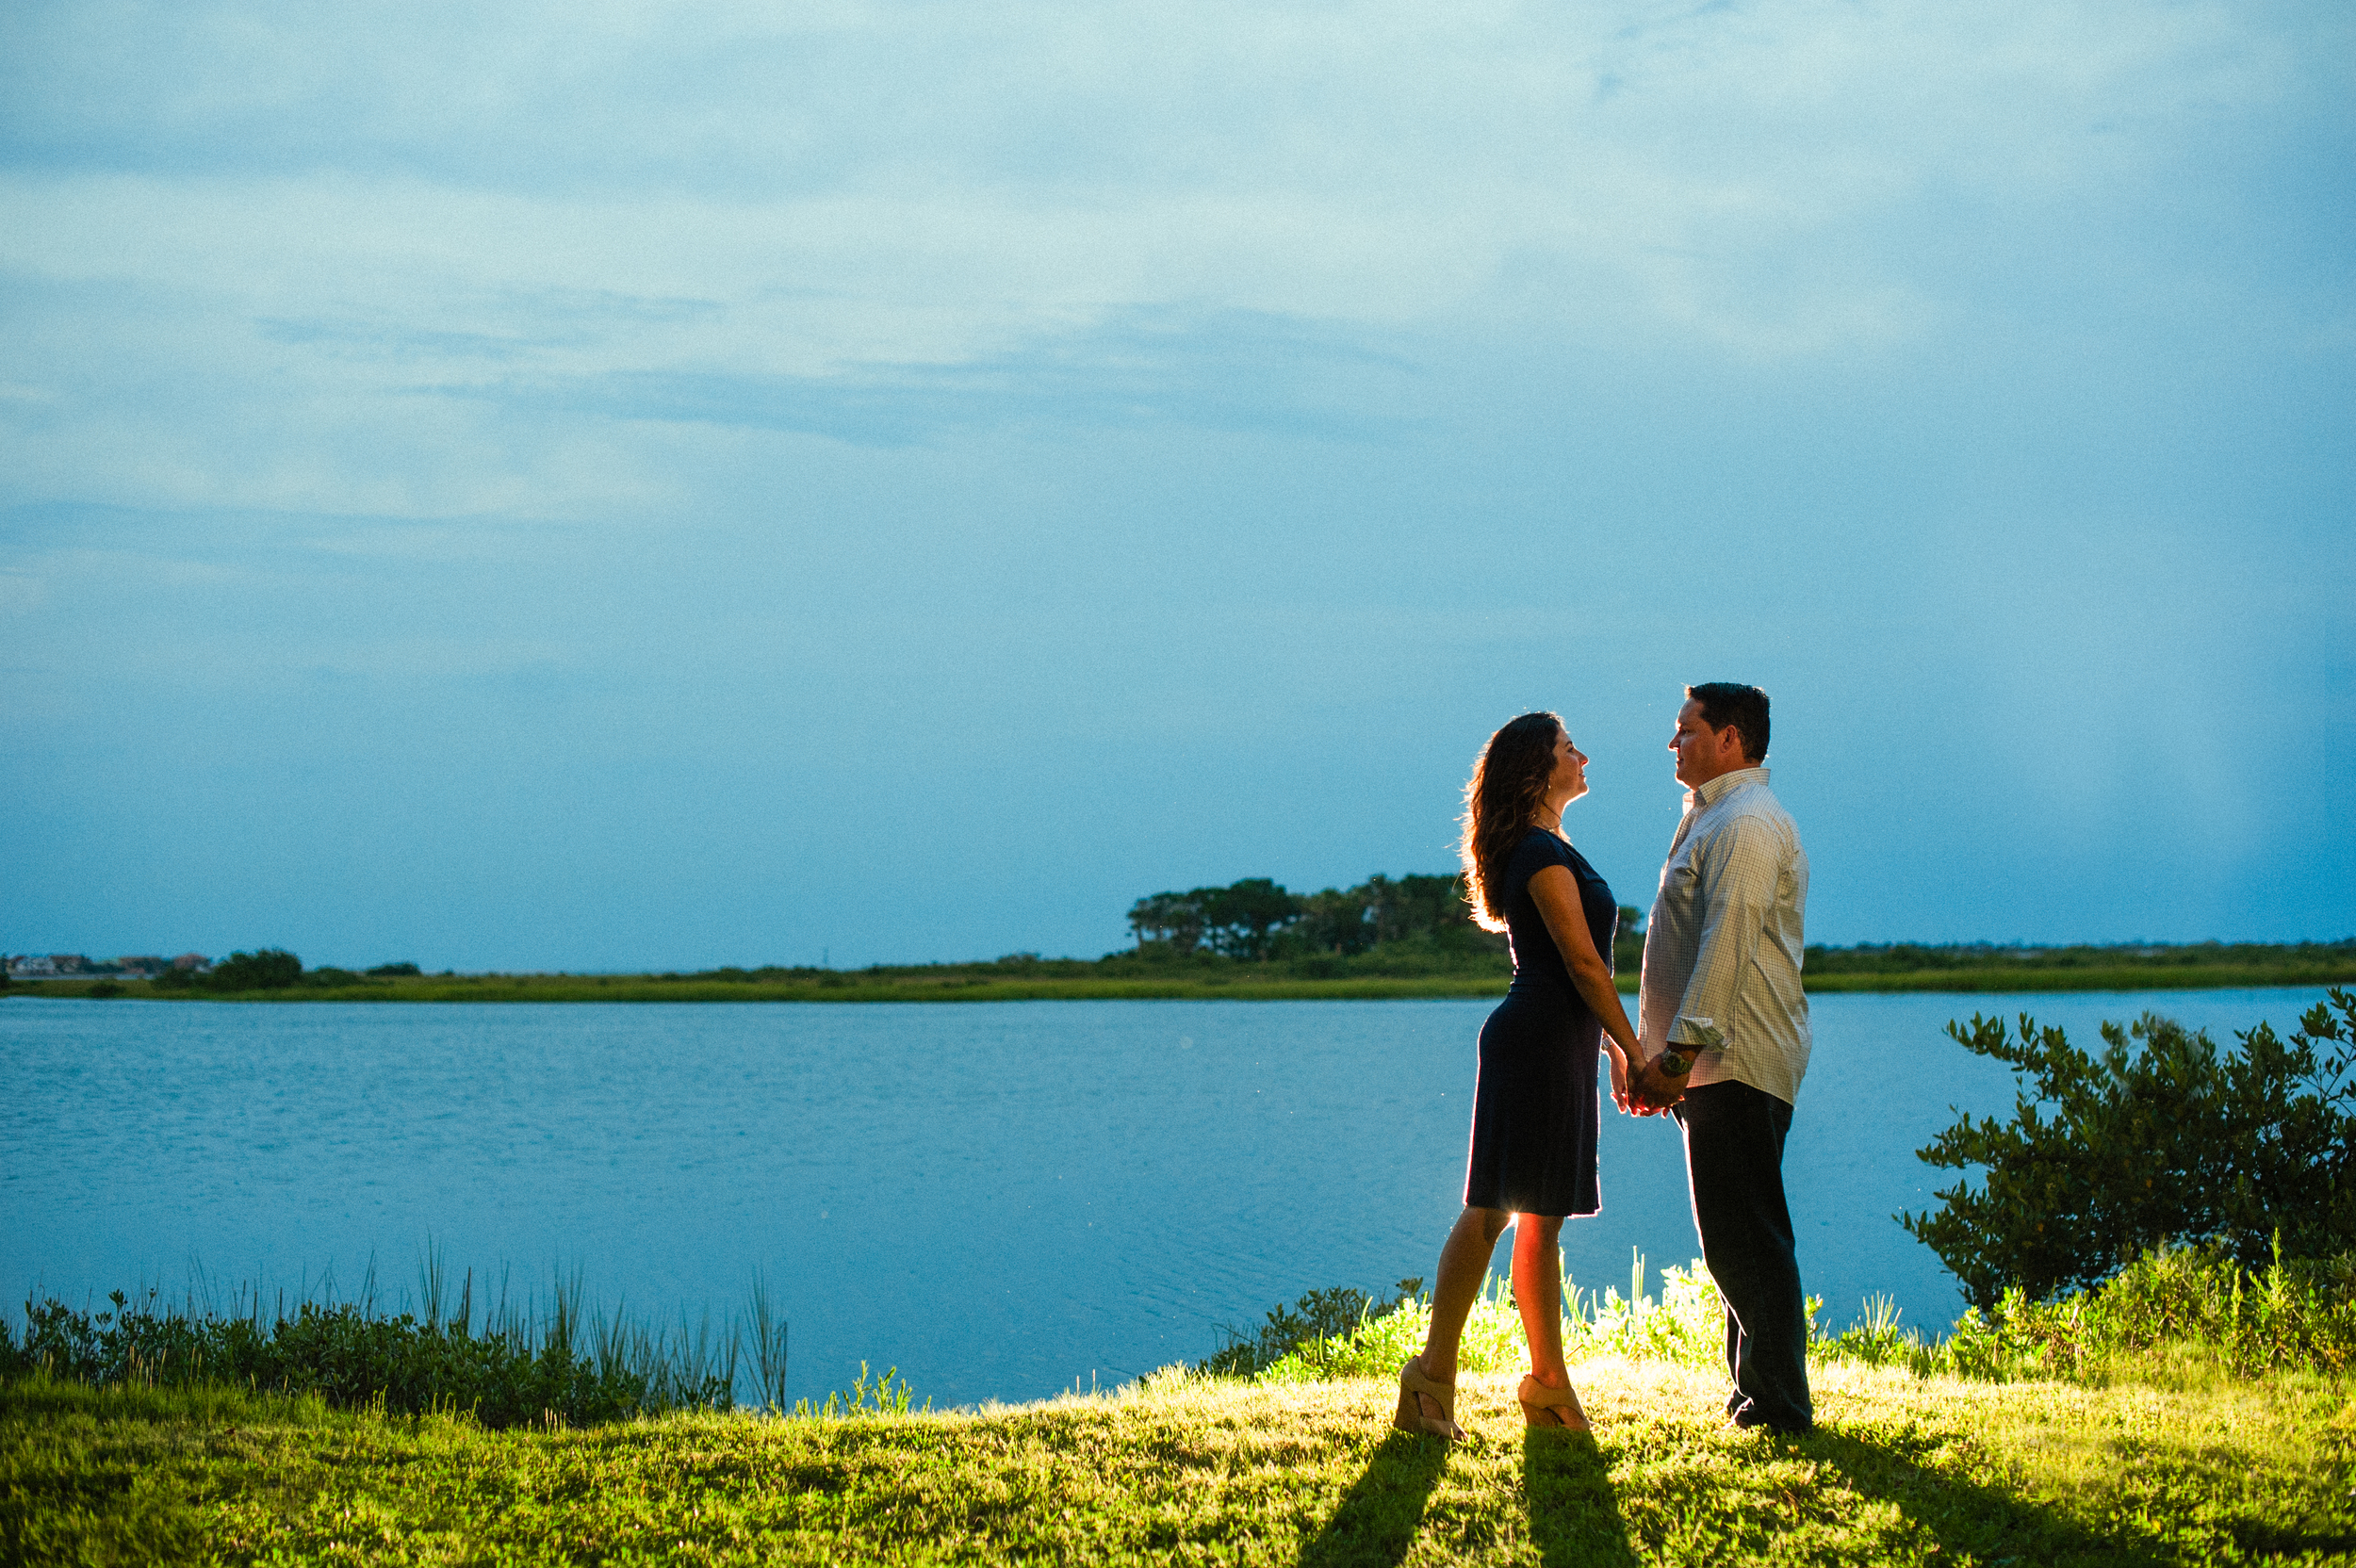
Danielle + Boone.
When Danielle and I met in person she described the images that she wanted for her engagement photos: classic, simple, elegant. We discussed outfits, time of day, you know, the normal stuff.
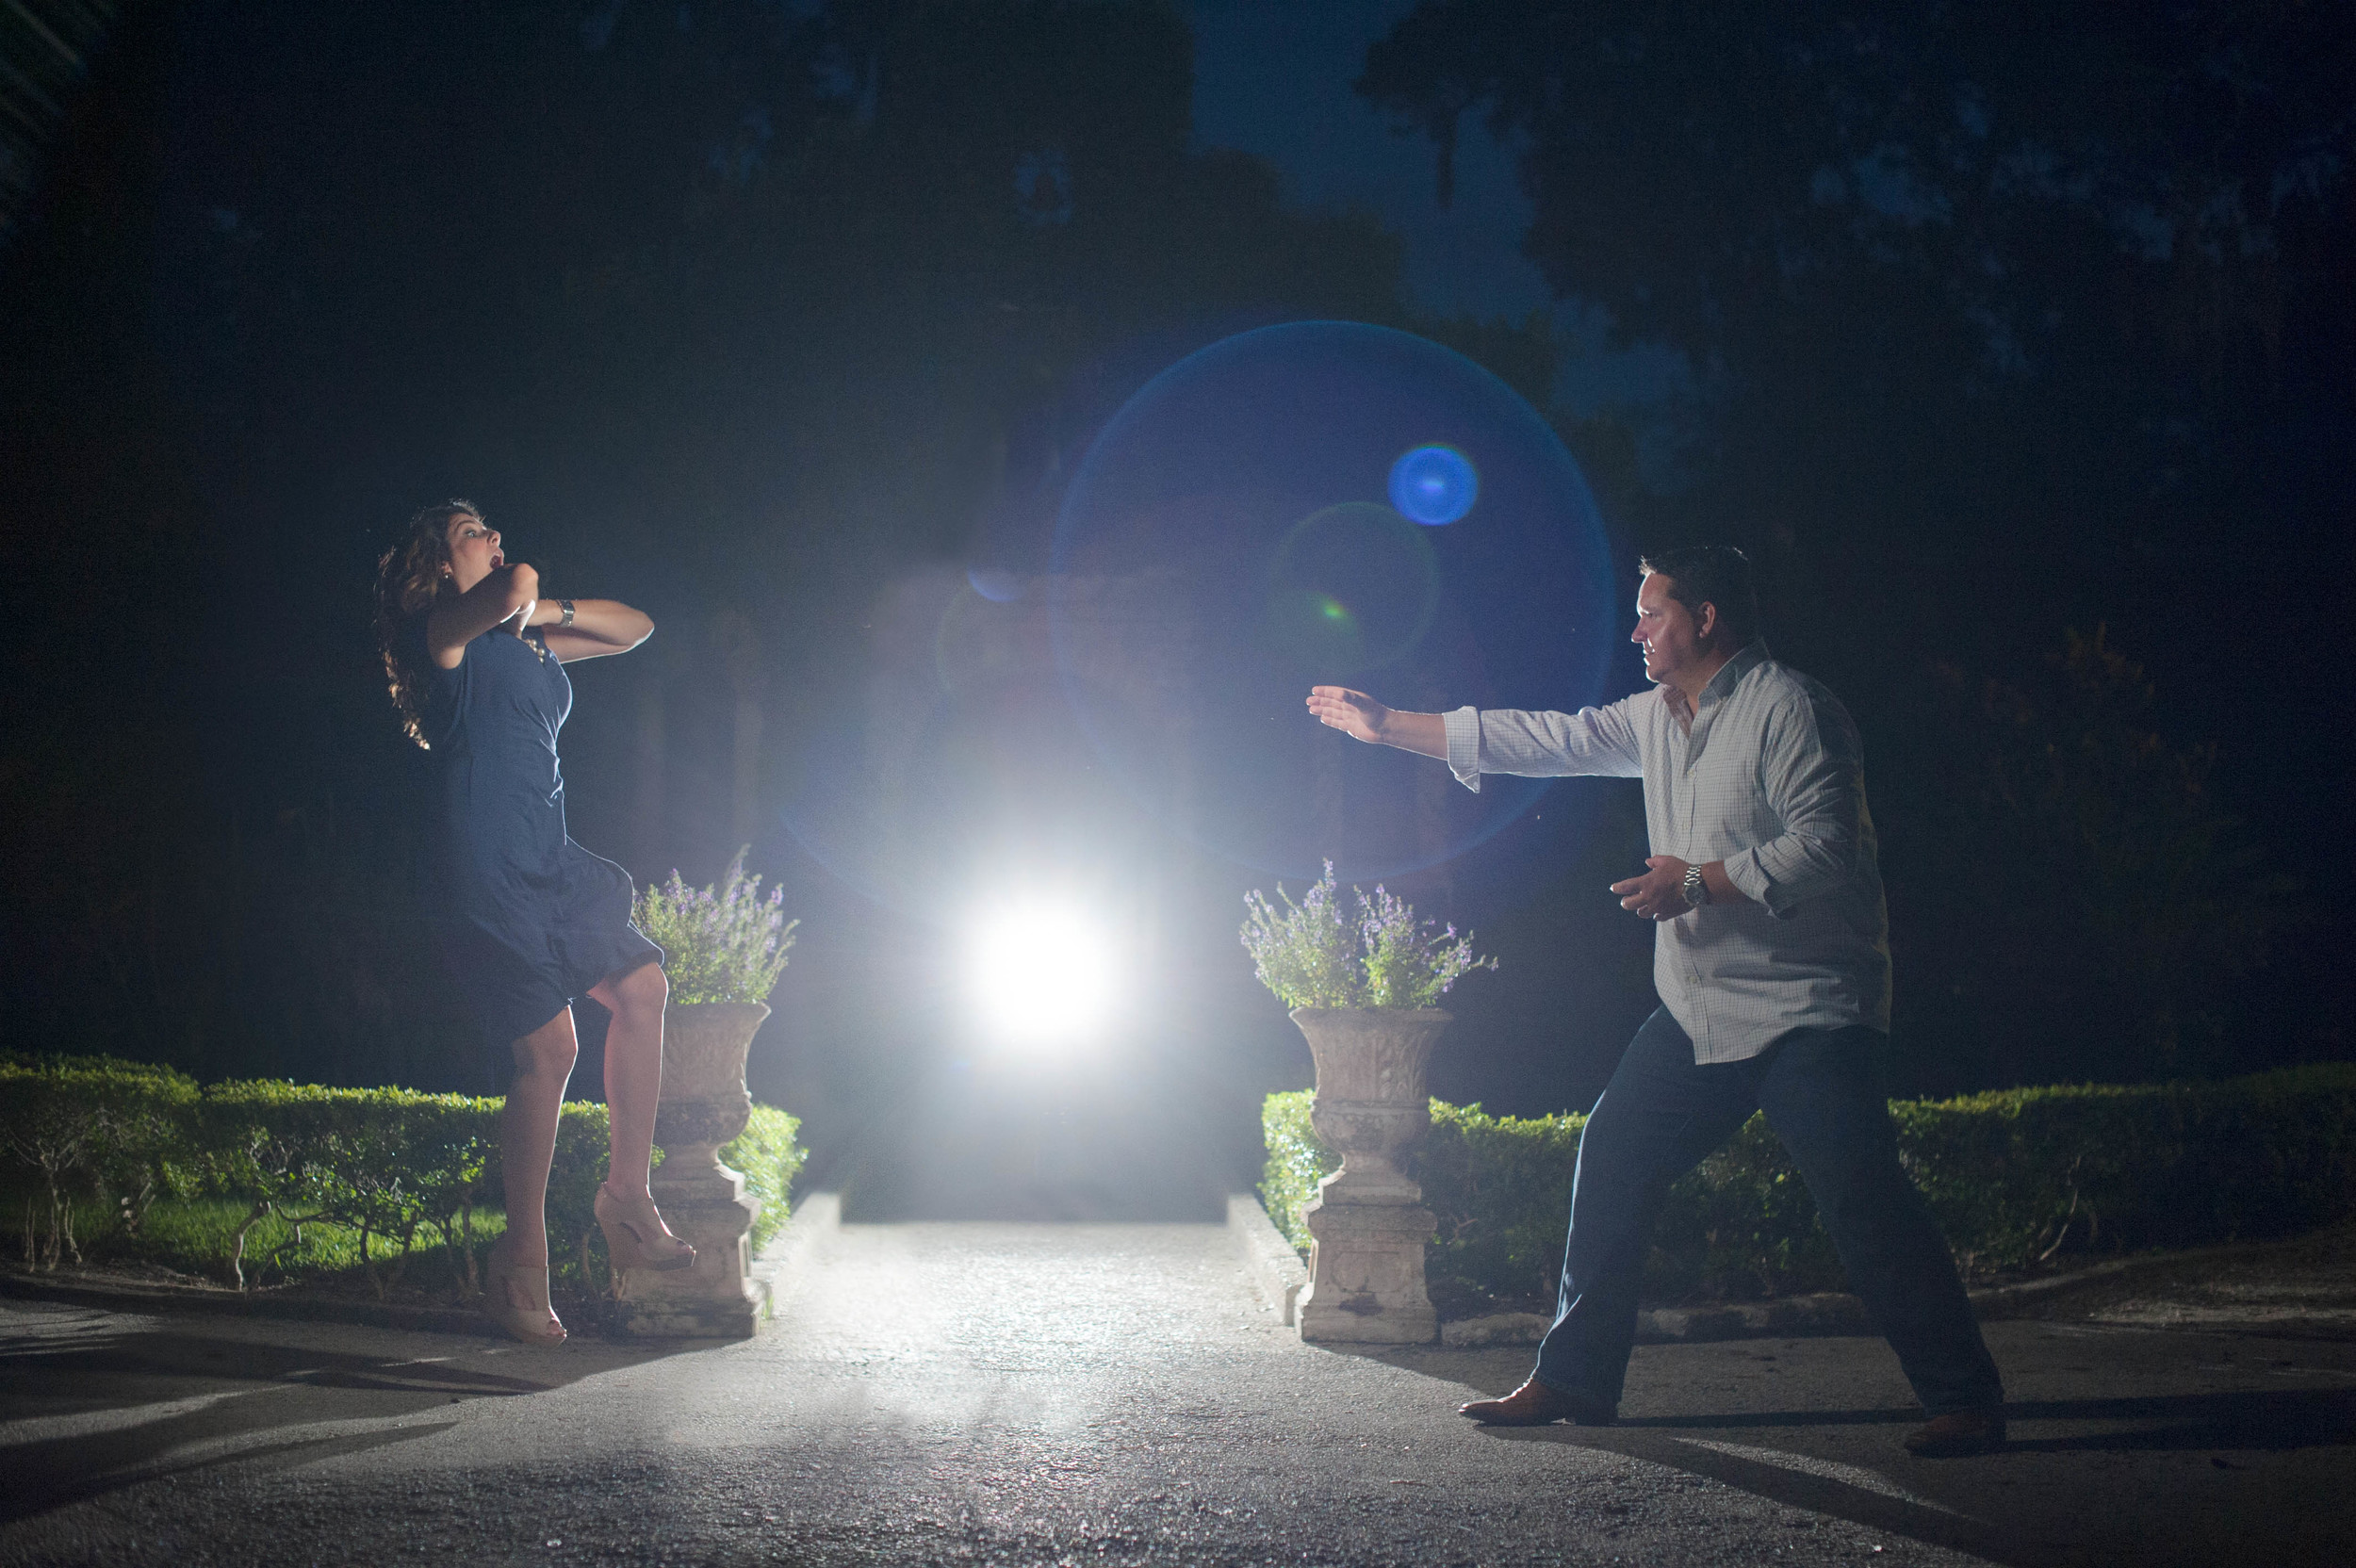
On the day of the shoot we had a lot of fun. We moved from set to set and we were both really excited about the shots we had gotten. As the sun was going down Danielle turned to me and said "hey Rob, do we have time for a 'Vadering' photo?". I didn't have to say anything, the speed at which I was setting up the shot said it all.
Teach it Tuesday - Using what you have.
Around these parts it is time for back to school. That means we had a temporary surplus of construction paper, crayons, scissors and glue. Sitting down with the kids for some craft time we started talking about making a little family photo for the fridge... We had about an hour to concept, shoot and process our photo so our goal needed to have minimal complexity and maximum creativity.
I used a Nikon D700, a Nikon 35mm f/2 lens a tripod to hold it still and a small stack of colored construction paper cut into shapes.
Awesome creative family portrait using construction paper and a window light.
Photo lit by a smple window light.
Each of the family member photos were taken in the bedroom right in front of our big window while the camera sat on the tripod. To give us that "floating" look we all took turns laying on a bar stool. We had to be careful to keep our heads and feet in front of the window so that the light would be even across our bodies. It also makes it a lot easier to cut us out.
My amazing photo assistant.
The clouds, waves, and even the little birds were made by cutting shapes out pieces of construction paper that were lit in the same location. By using real paper it gave us a natural light gradient across the surface of the paper and realistic texture. Our goal was to make this look hand made, not fake.
We toyed with the idea of doing this without the use of Photoshop. It would be possible if we had printed out the photos of each family member and then cut them out like we did with the waves, clouds and birds. We then could have laid them all flat on a sheet of paper, and taken one final photo. In the end, to save time I completed mine in Photoshop.
In all, this photo took about 15 minutes to shoot and about 60 minutes to process. What did we learn? Well, for starters, a snorkel is a must. (As my friend Jen said "so glad she is taking her job seriously"). If I were going to shoot it again, I would have gotten my models to tie their hair up. When I rotated the girls their hair was still pointing towards the OLD center of gravity and we had to fake it.
We had a lot of fun making this image and we sketched up a whole set of these that we will be shooting over the next few weeks to display around the house.
I hope this helps inspire you to make something awesome. If you have any questions, just send me a note, I will be happy to help however I can.

